
You slather on a hair repair mask. Rinse. Repeat. Yet your strands still snap like dry twigs. Frustrating? Absolutely. Most masks promise miracles but deliver surface-level gloss—nothing more than a temporary disguise for deep structural damage. The real fix isn’t in the jar alone—it’s in how, when, and why you use it.
The Myth of “One-and-Done” Hair Repair
Conventional wisdom says: apply once a week, leave it on for 5 minutes, rinse. Done. But that’s like patching a tire with duct tape after it’s been slashed three times. Keratin treatments wear off. Protein overload turns hair brittle. Silicones build up, suffocating follicles. And most over-the-counter masks lack the penetration depth needed to reach the cortex—the core layer where breakage begins.
Here’s the reality: damaged hair isn’t just thirsty—it’s fractured. And hydration alone won’t weld broken bonds back together.
How to Use a Hair Repair Mask That Actually Repairs
Forget passive conditioning. Real restoration demands strategy. Start by identifying your damage type—chemical, thermal, or mechanical—then match your approach.
Step 1: Pre-Cleanse to Remove Barriers
Shampoo with a sulfate-free clarifier first. No residue = better absorption. Skip this, and your mask sits on top like paint on grease.
Step 2: Apply to Damp—Not Soaking—Hair
Towel-dry until damp. Water opens the cuticle slightly; too much water dilutes actives. Think of it as priming canvas before oil paint.
Step 3: Heat Activation (Non-Negotiable)
Cover with a shower cap and wrap a warm towel around your head—or use a hooded dryer for 10 minutes. Heat boosts molecular movement, driving ingredients deeper. And yes—this step separates amateurs from pros.
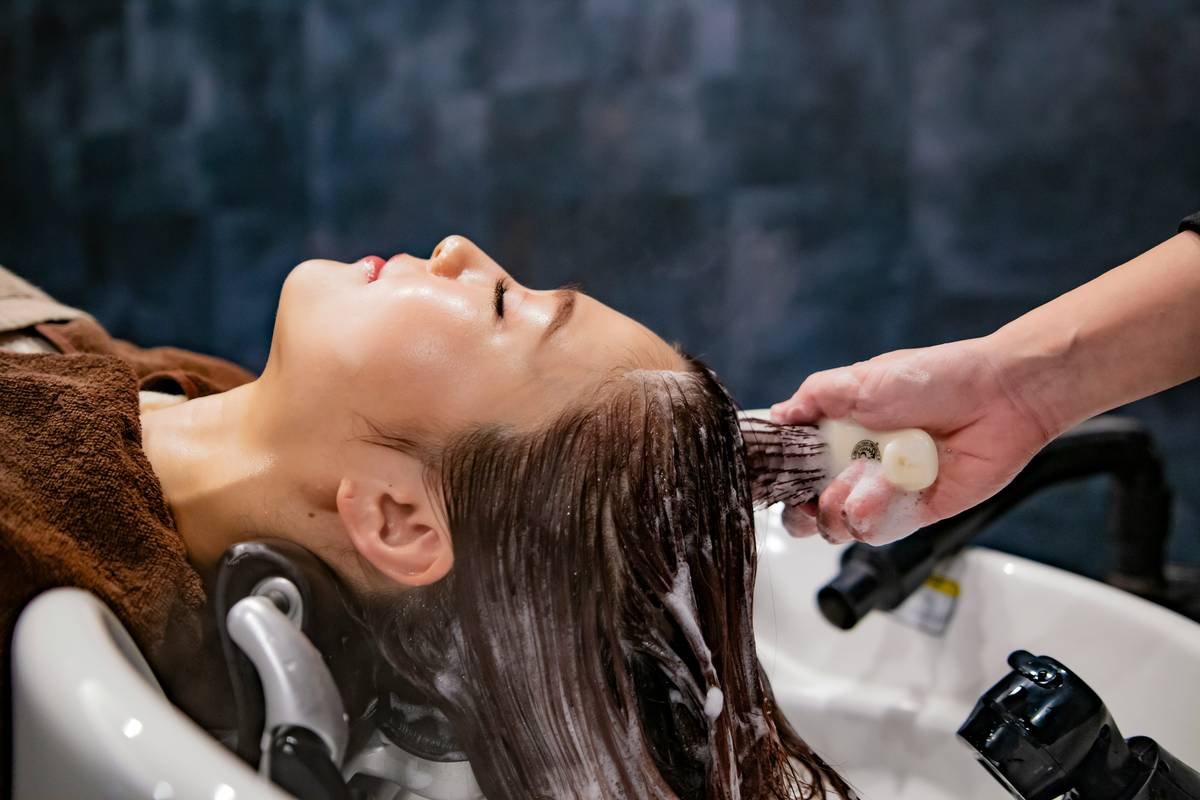
Step 4: Rinse with Cold Water
Seals the cuticle shut. Locks in nutrients. Prevents washout. Simple. Effective.
| Repair Approach | Key Ingredients | Frequency | Avg. Cost (per use) |
|---|---|---|---|
| At-Home Hair Repair Mask | Hydrolyzed keratin, ceramides, panthenol | 1–2x/week | $0.80–$2.50 |
| Salon Bond-Building Treatment | Maleic acid, cysteine derivatives | Every 4–6 weeks | $15–$40 |
| DIY Oil Masks (Coconut, Argan) | Natural fatty acids | Weekly | $0.30–$1.00 |

The Industry Secret: Timing Trumps Formula
Most brands obsess over exotic ingredients—blue tansy, Antarcticine, moonflower extract—but insiders know this: a mediocre mask used correctly beats a luxury one used wrong. Here’s the unspoken truth: hair has a 72-hour window post-damage where bond-repair actives (like cysteamine or thioglycolate analogs) can actually reconnect broken disulfide bridges. Miss that window? You’re just coating dead weight. That’s why salons push immediate follow-up treatments after coloring or straightening. And that’s also why your Sunday-night mask feels pointless if you bleached your hair on Friday.
Think about it: would you wait a week to set a broken bone?
Frequently Asked Questions
Can a hair repair mask fix split ends?
No. Split ends are physical fractures—only scissors can remove them. Masks improve overall resilience to prevent new splits.
Is protein overload real?
Absolutely. Too much keratin without moisture makes hair stiff and prone to snapping. Balance is key—alternate protein masks with emollient-rich ones.
How long should I leave a hair repair mask on?
10–20 minutes with heat. Longer isn’t better—most actives plateau after 20 minutes and can start drawing moisture out.